How to Install SiteVibes Scripts
Installation Guide for SiteVibes
Setting up SiteVibes on your website is straightforward and can be completed in a few simple steps. Follow this guide to ensure a successful installation.
Step 1: Obtain Your SiteVibes Pixel Script
To integrate SiteVibes with your site, you first need to get your unique tracking script:
-
Log in to your SiteVibes account.
-
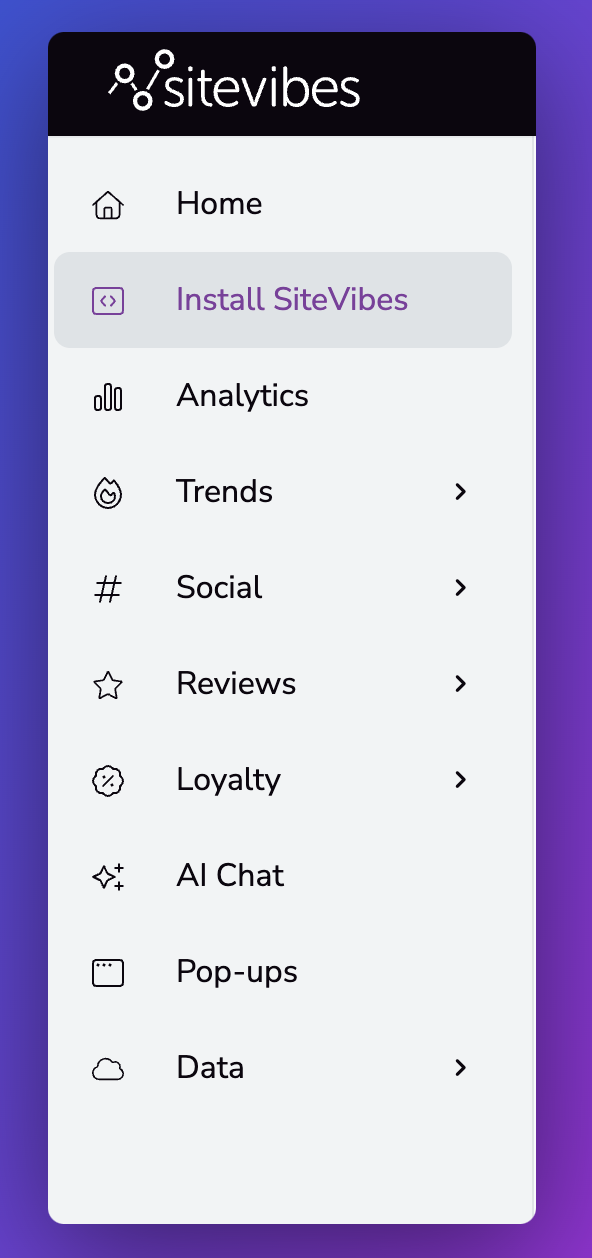
Navigate to the "Install SiteVibes" section accessible from your dashboard.
-
-
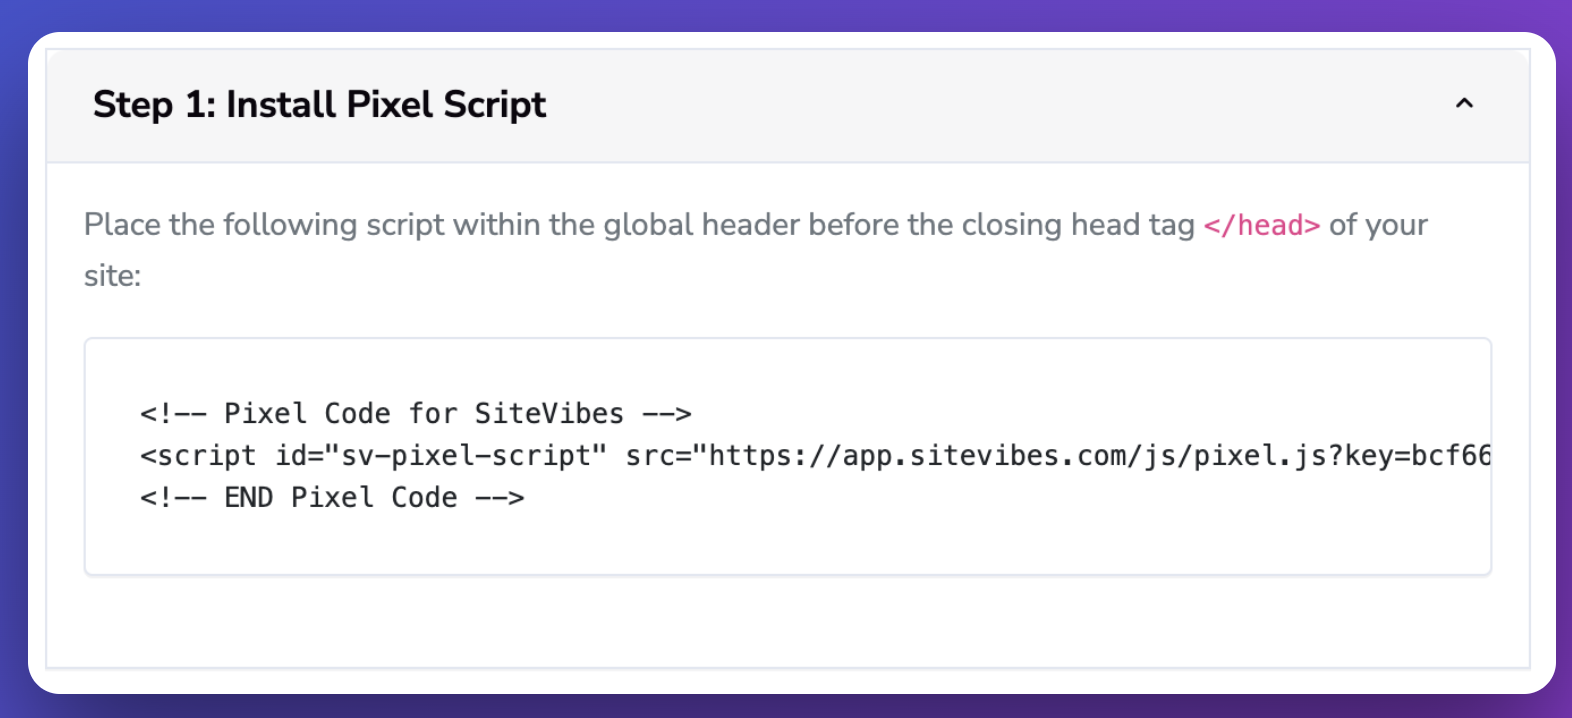
Copy the unique SiteVibes Script provided. You'll find this under the instructions or directly visible on your dashboard.
-
Step 2: Insert the SiteVibes Script into Your Website
Next, embed the SiteVibes Script into your website's global header for it to load on all pages:
- Access the global header file of your website. This can usually be done through your website's file management system or a platform-specific method (e.g., through a content management system or tag manager).
- Paste the copied SiteVibes Script immediately before the closing
</head>tag. - Save your changes to update the file.
Step 3: Implement Product and Order Tracking Scripts
SiteVibes requires additional scripts for tracking product data and order information:
Adding the Product Data Script
- Return to the "Install SiteVibes" section in your dashboard.
- Select "Install Product Script" to access the template for product data tracking.
- Insert the product collection script into the relevant pages of your website, customizing the template with your product details:
<!-- SITEVIBES PRODUCT start -->
<script type="text/javascript">
var SiteVibesProduct = {
    product_id: "10001",
    product_sku: "10001", // optional
    product_variant_id: "10002", // optional
    name: "Product name",
    description: "Product description",
    url: "https://domain.com/product/10001",
    image_url: "https://domain.com/image/product1.jpg",
    category_name: "Category name",
    brand_name: "Brand name",
    quantity: 10,
    quantity_in_store: 10, // optional
    price: 89.99,
    price_range: [79.99, 99.99] // optional - if price should be displayed as price range ($89.99 - $99.99)
    price_sale: 79.99, // optional - if product is on sale
    price_sale_range: [79.59, 89.99], // optional - if on sale price should be displayed as price range ($79.99 - $89.99)
    groups: ["New", "Promotion"], // optional - list of product groups
    variants: [ // optional - list of product variants (variant id is required, name and sku are optional)
        {id: "10002", name: "Red variant", sku: "10001-S"},
        {id: "10003", name: "Blue variant", sku: "10001-L"},
        {id: "10004", name: "Green variant"}
    ]
};
</script>
Adding the Order Tracking Script
For tracking orders, include the following template, customized with order details, on your checkout or order confirmation page:
<!-- SITEVIBES CHECKOUT start -->
<script type="text/javascript">
    var SiteVibesOrderData = {
        email: "[email protected]",
        firstName: "John",
        lastName: "Smith",
        orderId: "123456",
        orderItems: [
            {
                product_id: "10001",
                product_variant_id: "50001", // optional
                quantity: 2,
                unit_price: 79.99
            }, {
                product_id: "10002",
                product_variant_id: "50002", // optional
                quantity: 3,
                unit_price: 39.99
            }
        ],
        coupons: ["sv-test-coupon-used"]
    };
</script>
<!-- SITEVIBES CHECKOUT end -->
Step 4: Verify Installation
After completing the installation, it's important to ensure that data is being transmitted correctly to SiteVibes:
- Test your website by navigating through pages, viewing products, and placing an order (if possible).
- Contact SiteVibes support to confirm that they're receiving your site's data accurately.
By following these steps, you should have SiteVibes successfully integrated into your website. If you encounter any issues, SiteVibes support is available to assist you.
Updated about 1 month ago

